Compile Caffe without Root Privileges
On shared servers or HPC clusters, you often don’t have sudo access, which makes installing system-level dependencies impossible. In this tutorial, we are going to introduce how to install Caffe entirely in user space, without root privileges. We assume that you have installed Anaconda and CUDA on your PC.
Note: This tutorial is based on CUDA 9.0, Caffe 1.0, protobuf 3.2.0, and OpenCV 3.4.3. You may need to adjust the version numbers for your own setup.
Create Virtual Environment
conda create -n caffe
conda activate caffe
Install Dependencies
Since we decide not to use system dependencies, we need to install them in the Anaconda environment. To install, you can use the following commands:
conda install boost=1.65.1 openblas mkl mkl-include gflags glog lmdb leveldb h5py hdf5 scikit-image
conda install -c conda-forge ffmpeg opencv==3.4.3
Build Protocol Buffer (protobuf)
Please DO NOT install it with Anaconda, because it causes the problem of the undefined reference in the linking process.
To compile protobuf, we need to download the source code from GitHub:
wget https://github.com/protocolbuffers/protobuf/releases/download/v3.2.0/protobuf-cpp-3.2.0.tar.gz
tar -xf protobuf-cpp-3.2.0.tar.gz
Then, we need to generate a Makefile with configure:
cd protobuf-3.2.0
./configure --prefix=/path/to/install/protobuf-3.2.0 --enable-shared
Please make sure that you add the --enable-shared option.
Finally, we can build it with make and make install:
make -j32
make install
Set the Environment Variables
To use Anaconda dependencies for building Caffe, we need to set the PATH and LD_LIBRARY_PATH variable.
export LD_LIBRARY_PATH=/path/to/protobuf-3.2.0/lib:/path/to/anaconda3/envs/caffe/lib:/path/to/cuda-9.0/lib64
export PATH=/path/to/protobuf-3.2.0/bin:/path/to/anaconda3/envs/caffe/bin:/path/to/cuda-9.0/bin:/bin
You can also add it in ~/.bashrc.
Build Caffe
Now, we have installed all dependencies for building Caffe. To build Caffe, we need to get the source code of Caffe:
git clone -b 1.0 --depth 1 https://github.com/BVLC/caffe.git
Then, we need to update the Makefile.config as follows.
USE_CUDNN := 1
OPENCV_VERSION := 3
CUDA_DIR := /path/to/cuda-9.0
CUDA_ARCH := \
        -gencode arch=compute_30,code=sm_30 \
        -gencode arch=compute_35,code=sm_35 \
        -gencode arch=compute_50,code=sm_50 \
        -gencode arch=compute_52,code=sm_52 \
        -gencode arch=compute_60,code=sm_60 \
        -gencode arch=compute_61,code=sm_61 \
        -gencode arch=compute_61,code=compute_61
BLAS := open
ANACONDA_HOME := /path/to/anaconda3/envs/caffe/
PYTHON_INCLUDE := $(ANACONDA_HOME)/include \
          $(ANACONDA_HOME)/include/python3.6m \
          $(ANACONDA_HOME)/lib/python3.6/site-packages/numpy/core/include
PYTHON_LIBRARIES := boost_python3 python3.6m
PYTHON_LIB := $(ANACONDA_HOME)/lib
WITH_PYTHON_LAYER := 1
INCLUDE_DIRS := /path/to/protobuf-3.2.0/include $(PYTHON_INCLUDE)
LIBRARY_DIRS := /path/to/protobuf-3.2.0/lib $(PYTHON_LIB)
BUILD_DIR := build
DISTRIBUTE_DIR := distribute
TEST_GPUID := 0
Q ?= @
Then, we can build Caffe with the following commands:
make -j32
And we also build pycaffe with the following command:
make pycaffe
To use caffe in Python, we need to set the PYTHONPATH environment variable:
export PYTHONPATH=/path/to/caffe/python:$PYTHONPATH
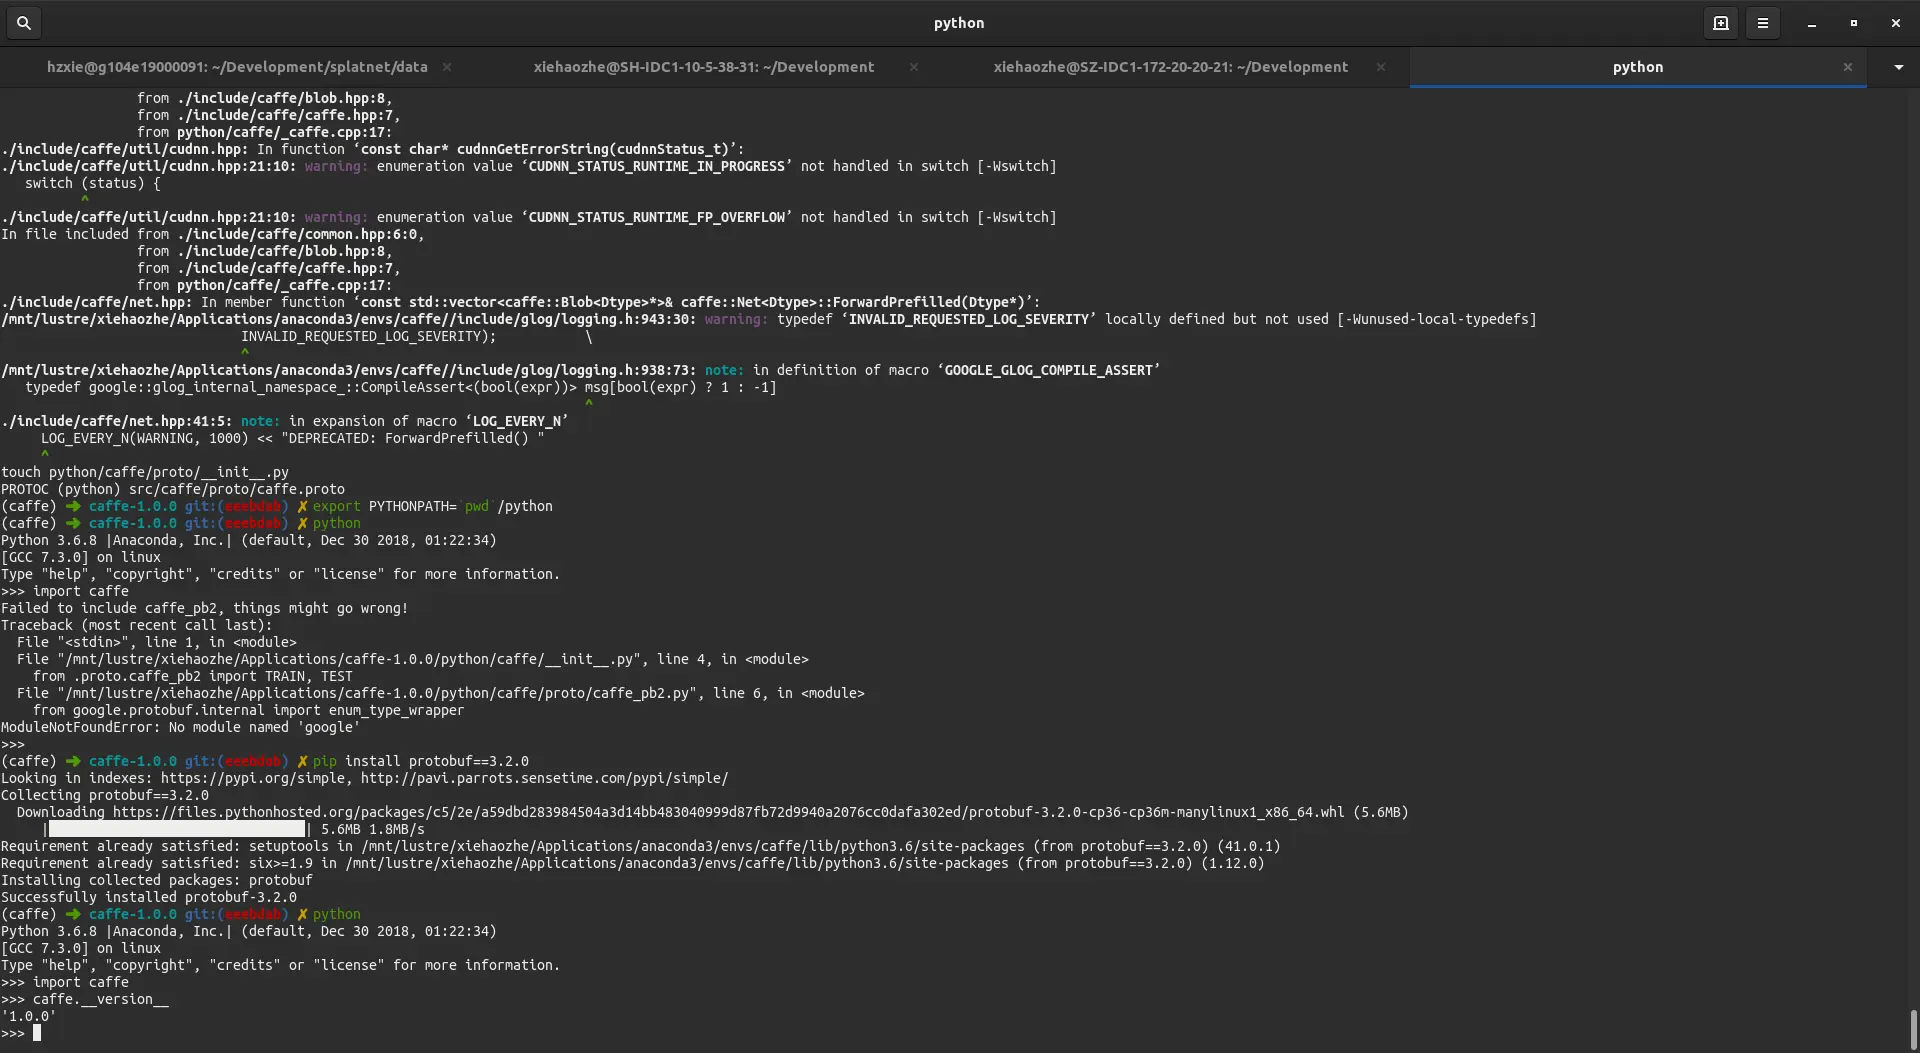
If everything goes well, running import caffe in Python should work without errors, as shown below.
The Disqus comment system is loading ...
If the message does not appear, please check your Disqus configuration.